Health & Fitness
Five tips for interior painting, avoid headache and mess
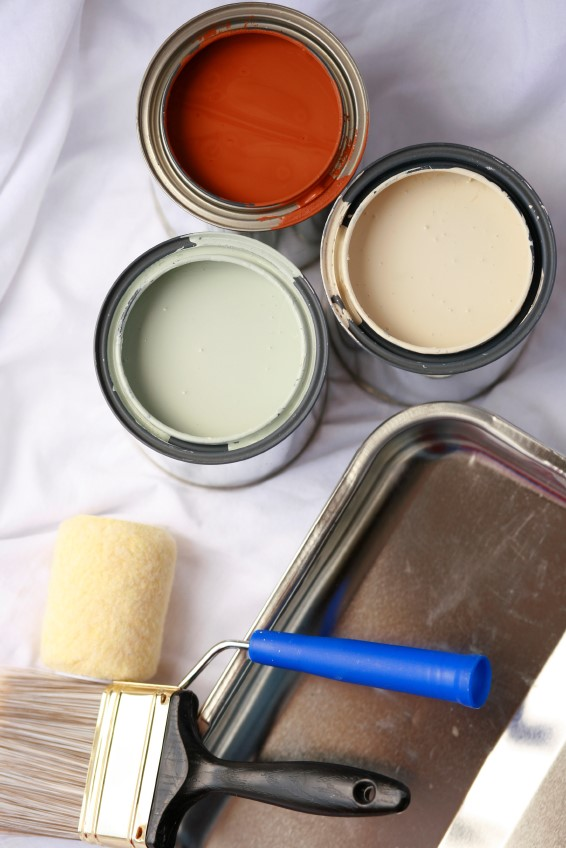
One of the easiest things you can do to freshen your home is interior painting. Change up the designated room’s look by using different colors, or enliven that existing look with a fresh coat. Painting revitalizes the inside of your home, and a nice paint job can add value. When taking on an interior paint job, follow these tips to avoid the stresses and messes that can be involved with painting:
Set up a paint pouring station
You’ve got all your colors, brushes and other materials together, and it’s time to paint! First, set up a pouring and mixing station. This is where you’ll keep all your paint cans, and fill your paint pans and buckets. You want to set up this station off to the side, where there is less foot-traffic, to help avoid tracking paint on the bottom of shoes and limiting the chances of a major spill.
Find out what's happening in La Mesa-Mount Helixwith free, real-time updates from Patch.
Set up your pouring station with a layer of plastic laid flat, taped directly to the floor surface, covering all seams and edges. Make sure you cover an area big enough to give yourself room to maneuver and work without stepping on and over your materials. Next, tape a layer of paper on top of the plastic. You might not want to use newspaper for this because it’s thin, tears easily, and does not effectively guard against major spills. Again, make sure to tape all edges and seams, to prevent as much leakage as possible in the event of a spill.
Cover the floors
Find out what's happening in La Mesa-Mount Helixwith free, real-time updates from Patch.
You should always cover the floor next to the area you’re painting with a thick masking paper. This doesn’t mean you need to cover the entire room’s floor, only do that if you’re painting the ceiling. To mask for painting walls, set your paper along the base of the wall spanning 16 – 24 inches. You should lay the paper about an inch away from where the wall meets the floor. This will give your tape room to stick to both the floor and the paper. All too often, amateur painters lay their paper tight against the wall then stretch out their tape and realize there’s no room to stick it to the floor. It’s both wasteful and frustrating when you peel off a length of tape and realize there’s no way to stick it.
For floor masking, the best products are the thicker masking papers. Found at most hardware stores and paint supply shops, masking paper is more durable than newspaper, it won’t tear as easily if you walk on it. It’s also treated with a polyurethane coating to prevent soaking. Painter’s plastic is also good for covering floors, and most rolls come with an adhesive edge, making it easier to rollout and stick down. If you have more questions about which floor covering is right for you, inquire at your local hardware store or check out the paint supplies online from Home Depot.
Choose the right tape
The most underrated product used for painting is tape. Carefully masking off the area can make the difference between a professional looking paint job, and a sloppy mess.
On floors, when taping down your paper to carpet, the best tape is clear plastic packaging tape. It’s wide and it sticks well to carpet, paper and plastic. It’s also durable, so you can walk on it without tearing it. The blue colored painting tape works best for masking on walls, wood floors and wood trims. It’s not as sticky as other types of tape, so it will peel off easier when you’re finished painting, reducing the likelihood of peeling fresh paint off the walls. In cases of paint buildup on the tape when painting is complete, use a razor to lightly score the painted seam. Again, this will help avoid peeling the fresh paint off the wall when removing the masking. If you’re concerned about paint drips behind your masking, try FrogTape. It’s the only tape treated with exclusive PaintBlock Technology for sharper paint lines and tighter hold.
Have a solution for spills
In the case that you accidently drip or spill paint on your carpet, don’t panic! There’s a remedy. For latex paints, get a clean sponge and a bucket of warm water. Gently dab the stain with the damp sponge, and avoid scrubbing. Soak up the paint into the sponge, then wring and rinse in the bucket of warm water. Repeat this process until you are not removing any more paint from the carpet. Then, scrub the stain with a wet brush and laundry detergent. To finish, soak up all excess water and detergent, and let dry.
For oil based paints, you will need to use industrial grade cleaning chemicals. For a small mess like a few drips or a dropped brush, the initial steps are the same, absorb as much of the paint as you can in a damp sponge. Then apply mineral spirits to a clean rag and scrub. Do not apply the chemical directly to the carpet or scrub with a brush, as this facilitates discoloration. Please note that using any chemicals on the carpet may lead to color change. Mineral spirits is a better product than acetone for an interior carpet spill. You can visit the solvent professionals online at http://www.wmbarr.com.
Take your time
Going too fast is the biggest mistake do-it-yourself painters make. Rushing leads to drips, splashes and spills. You may not even notice, but while you’re rolling paint up and down the wall, you’re flicking tiny drips with every pass. The faster you roll the roller, the further those drips fly. Roll up and down walls with a smooth, consistent motion to minimize splatter.
Having a smooth, consistent motion applies when using the brush as well. While brushing on the wall, you want to make sure you have plenty of paint in the bristles and you aren’t pressing too firmly. Pressing too hard will cause all the paint in the bristles to push through the back of the brush, running down your hand, rather than covering the wall.
Brushing too fast, with too much pressure also can lead to big drips. Call it the ‘painter’s touch,’ but there is a proper speed and force to use when painting, and starting slow will help you determine your own comfortable speed and avoid messes.
Painting can be a frustrating, messy chore. Spills, splashes and drips will happen, but you can avoid a lot of them by slowing down and using the proper paint-prepping products. Nothing looks better in your living room than a crisp, shiny paint job!